|
|
|
Hot Glue Tying |
|
Home
| Kobé Hooks | Beads/Cones
| Leaders/Tippets
| Dubbing | Salt
H2O Hooks |
||
|
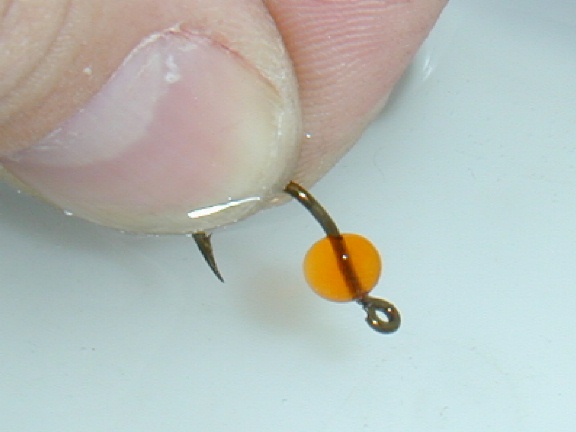
Single Egg |
||
|
Single Egg |
||
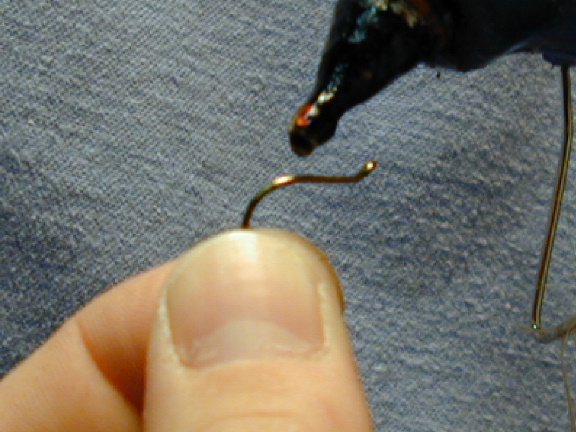
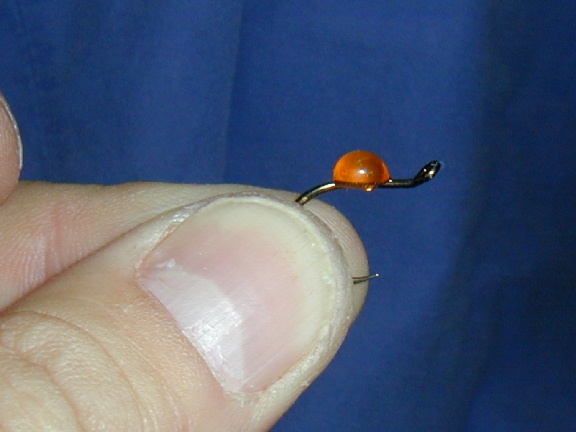
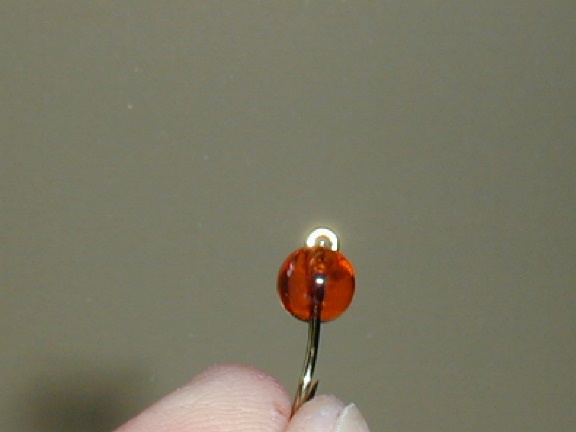
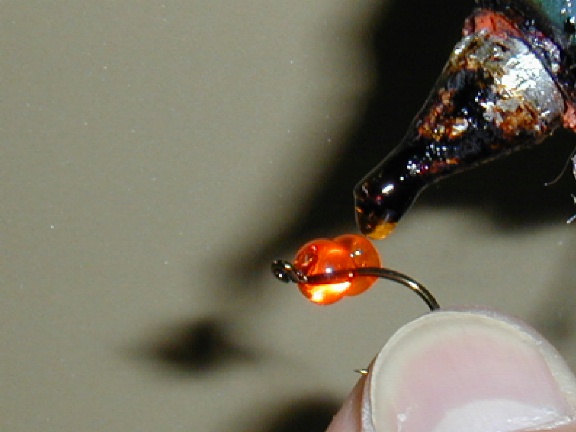
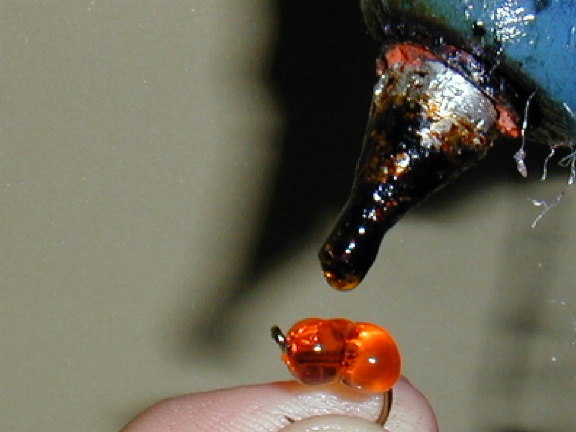
Instructions Step 1:
Start with a very small bead of glue
as the photo shows from the nozzle of the glue gun. |
|
|
||
|
|
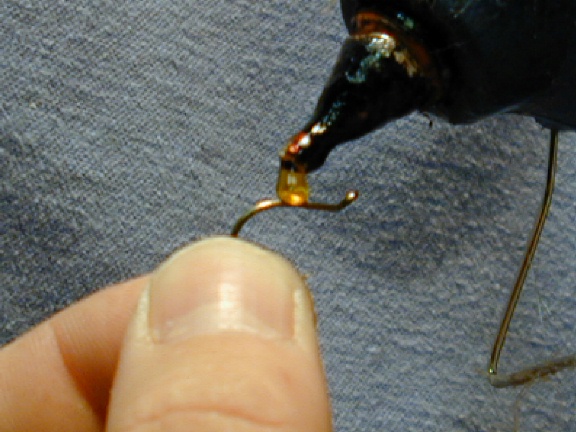
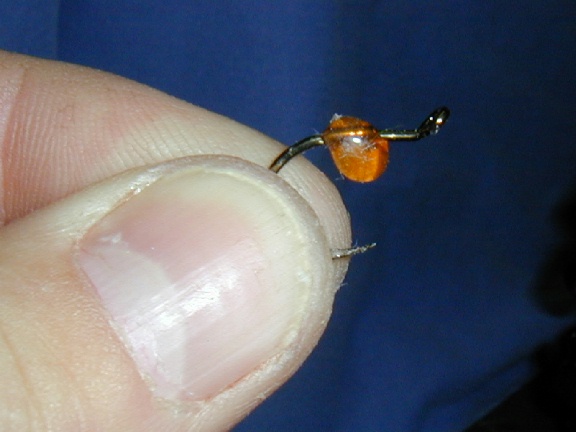
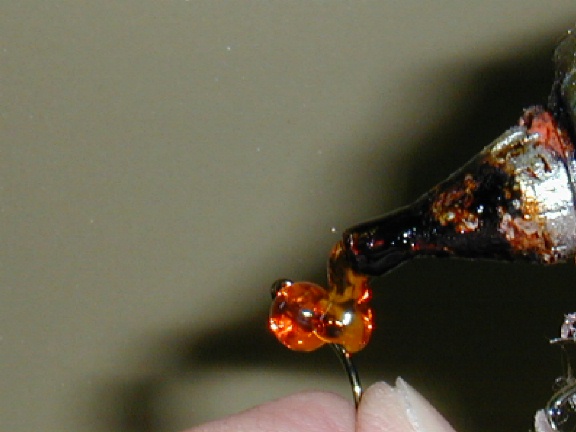
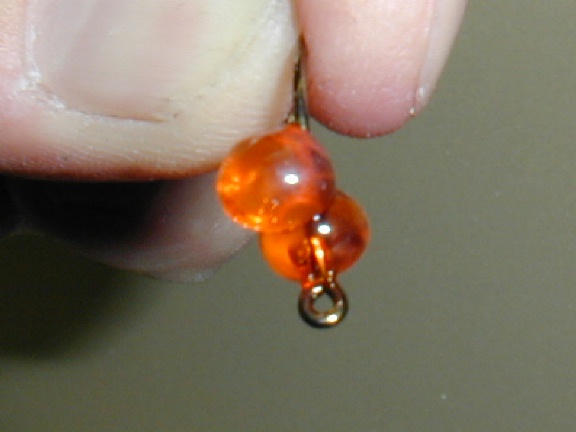
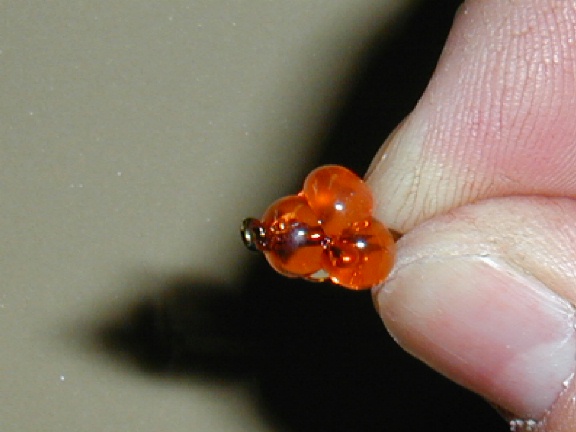
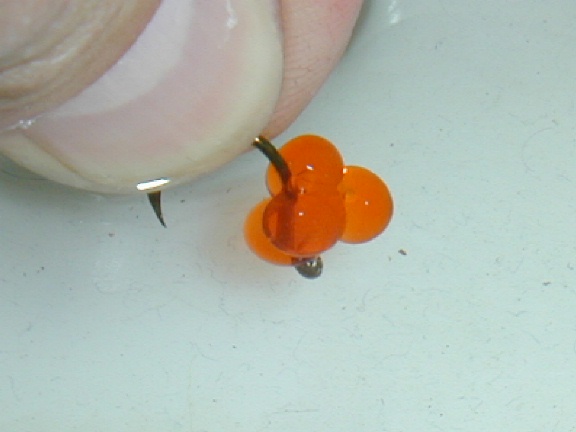
Instructions Step 1:
Make a Single Egg as in the previous
instructions, but take notice of the placement of the single egg in making
an egg cluster. In the Step1 photo the egg on the left is placed
approx. in the middle of the hook for making just a single egg, the egg on
the right is placed right behind the eye of the hook when making an egg
cluster. The reason is to give you enough room to place the additional
eggs on the hook. Remember: After each dipping into cold water you must make sure that ALL moisture is gone from the egg before you put another egg on. The water will make the Hot Head Glue bubble up and you'll end up with a bubbling mess. I normally just blow some air across the eggs to get rid of the moisture. You can also put on as many eggs as you wish. I have shown you the basic Egg Cluster. Please re-read the instructions of making the Single Egg for use of the glue gun. |
|
|
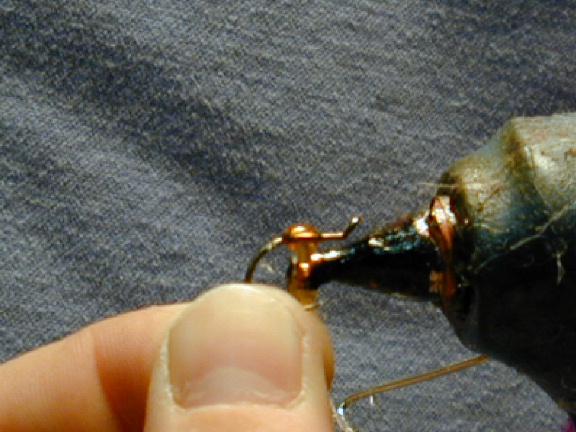
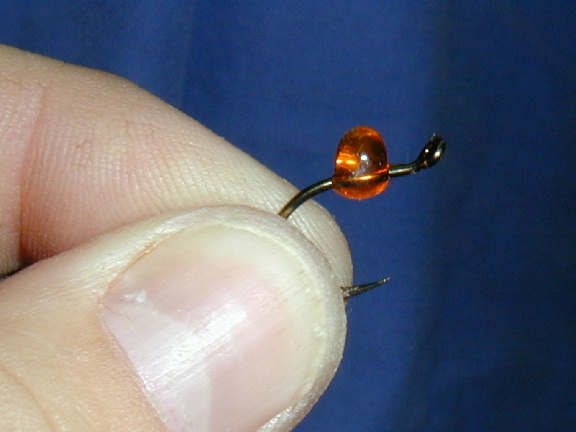
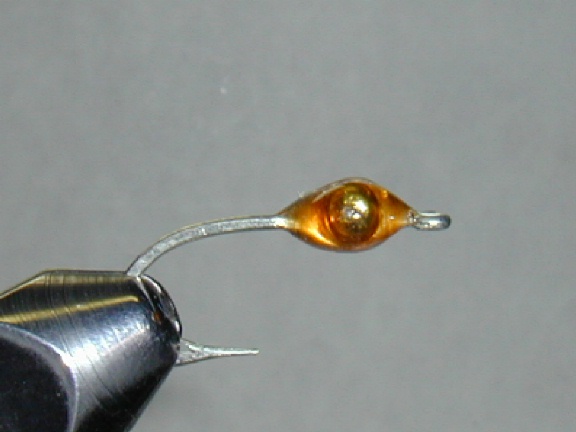
Instructions Step 1: Start with a small bead of
glue from the glue gun, and I mean a small bead, and put the bead behind
the bead chain eyes as in Step 1. Then slowly drag and squeeze the glue up
over the bead chain eyes and... Remember: I hold the hook in my hands so I can rotate the Moe Blank as soon as the nozzle is away from the blank. The glue sags quickly and instantly turning, twisting is needed. Most of the time it takes about 5 sec. to shape the blank by twisting into shape. |
|
|
Home
| Kobé Hooks | Beads/Cones
| Leaders/Tippets
| Dubbing | Salt
H2O Hooks
Fly Tying Tools | Hot
Glue Stuff | Accessories
| Fly Tying Materials
| Tying Flies
All Rights Reserved The Fish Guy©
2002
Site design and maintained by Nova Web
Creator